Example Polished Concrete Projects in Gilbert

Five floor jobs, from an office suite to a bedroom, each with the house, what the owners want, the work and a rough price.

These are examples, not past jobs, clients or addresses. They are built from the ages of homes in the area, the steps each kind of floor needs and 2026 price ranges, as a starting point before you ask for a quote.

Charcoal dyed three-car garage floor

Example project
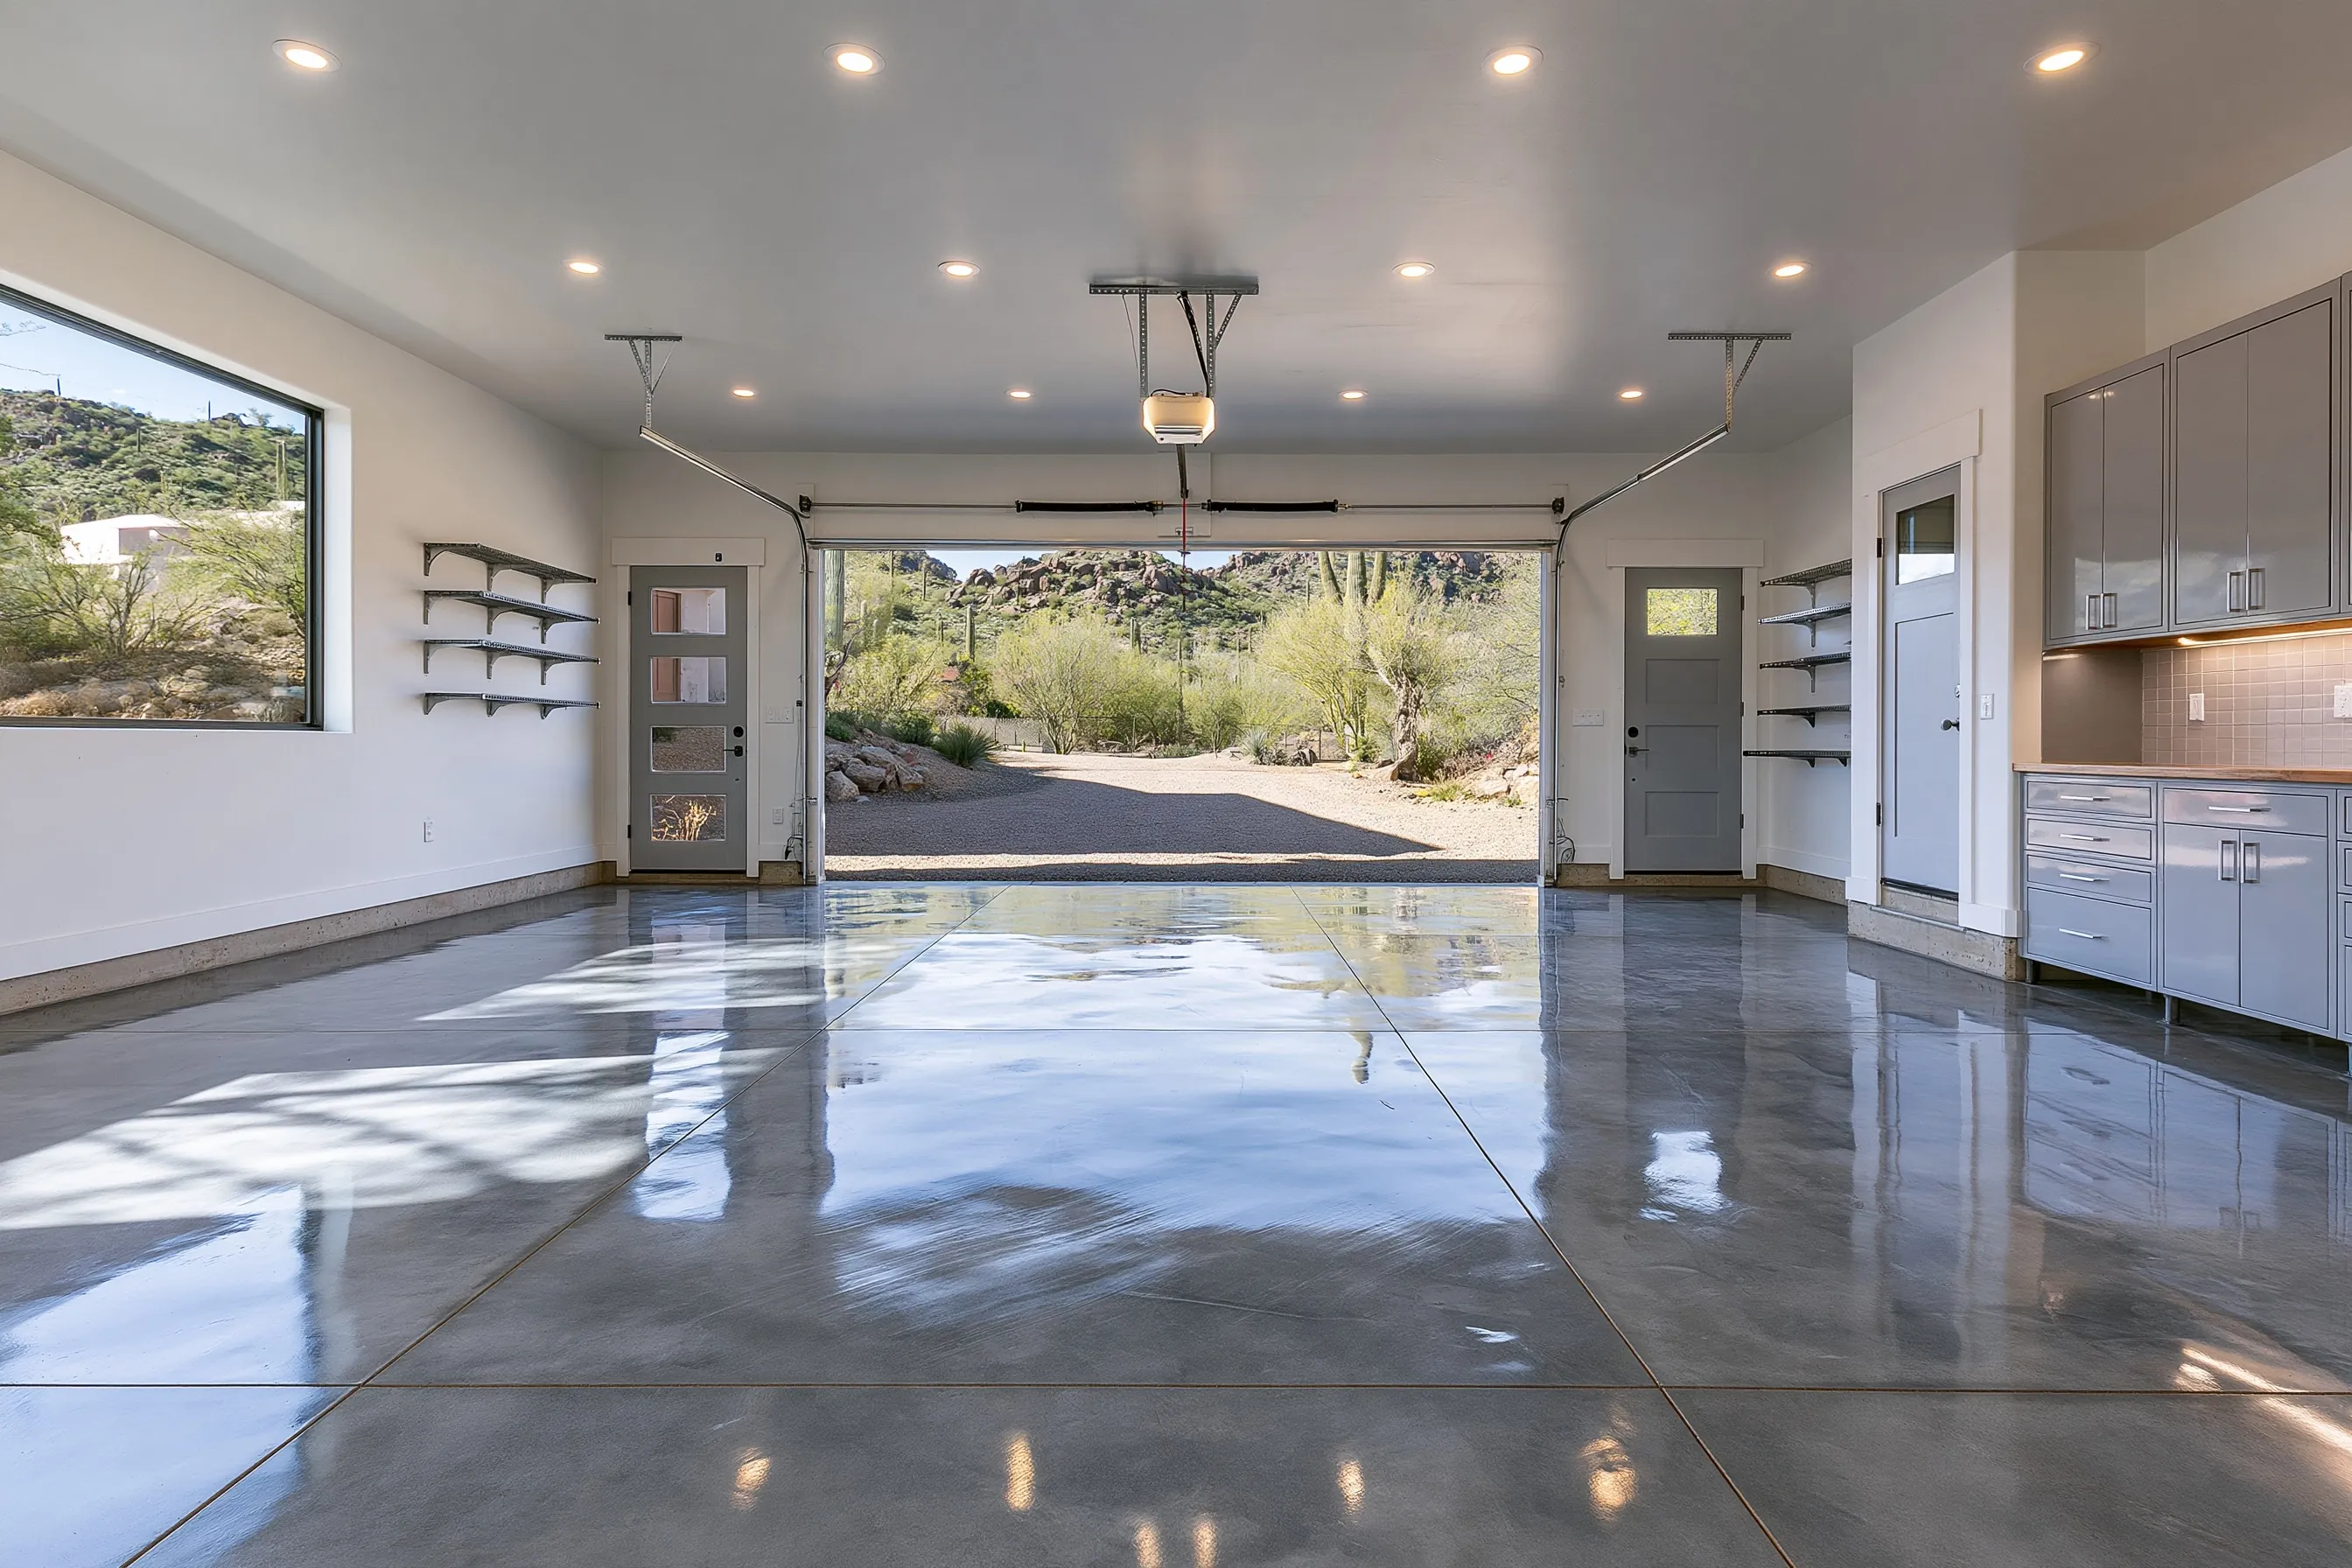
Three-car garage with a glossy charcoal dyed concrete floor, wall shelves and gray cabinets, and one door open to a gravel drive
Home
2000s house in Gilbert with a three-car garage
Original request
A garage floor that looks finished and wipes clean, with no coating to peel
Floor
About 650 sq ft of slab with a few hairline cracks and two saw-cut joints
Finish
Charcoal dye, polished to a gloss
Storage
Wall shelves and a run of gray cabinets stay in place
Estimated cost
$4,200

Scope of work

Shelves and cabinets emptied, the slab degreased and ground through the diamond steps, cracks and saw-cut joints filled, one charcoal dye color worked into the slab, a densifier, polishing to a gloss and a stain guard.

Project overview

In this example, the owners of a 2000s house in Gilbert have a three-car garage with a bare builder slab. They want it to look like part of the house and to wipe clean, without a coating that can peel.

The slab is ground and a charcoal dye is worked in, then the floor is polished to a gloss. Because the garage is wide, the shelves along the wall are cleared first and the polishing is done in strips so the shine matches from one side to the other.

The goal

The goal is a dark, even garage floor that matches the house and cleans with a mop.

Process

  1. Planning Floor checked for cracks and oil, dye color and shine agreed from samples.
  2. Grinding Slab degreased and ground, cracks and joints filled.
  3. Dye and polish Dye applied, densifier added and the floor polished through the finer steps.
  4. Guard Stain guard applied and the garage put back together.

Planning right

  • Dye shows every patch, so cracks are filled before the color goes on.
  • Ask for a sample on your own slab; the same dye reads differently on each concrete.
  • A gloss shows scratches more than a satin finish does.
  • Tell us if the garage has a floor drain or a slope toward the door.
Get a free quoteMore about polished garage floors

Terracotta dyed living room floor

Example project

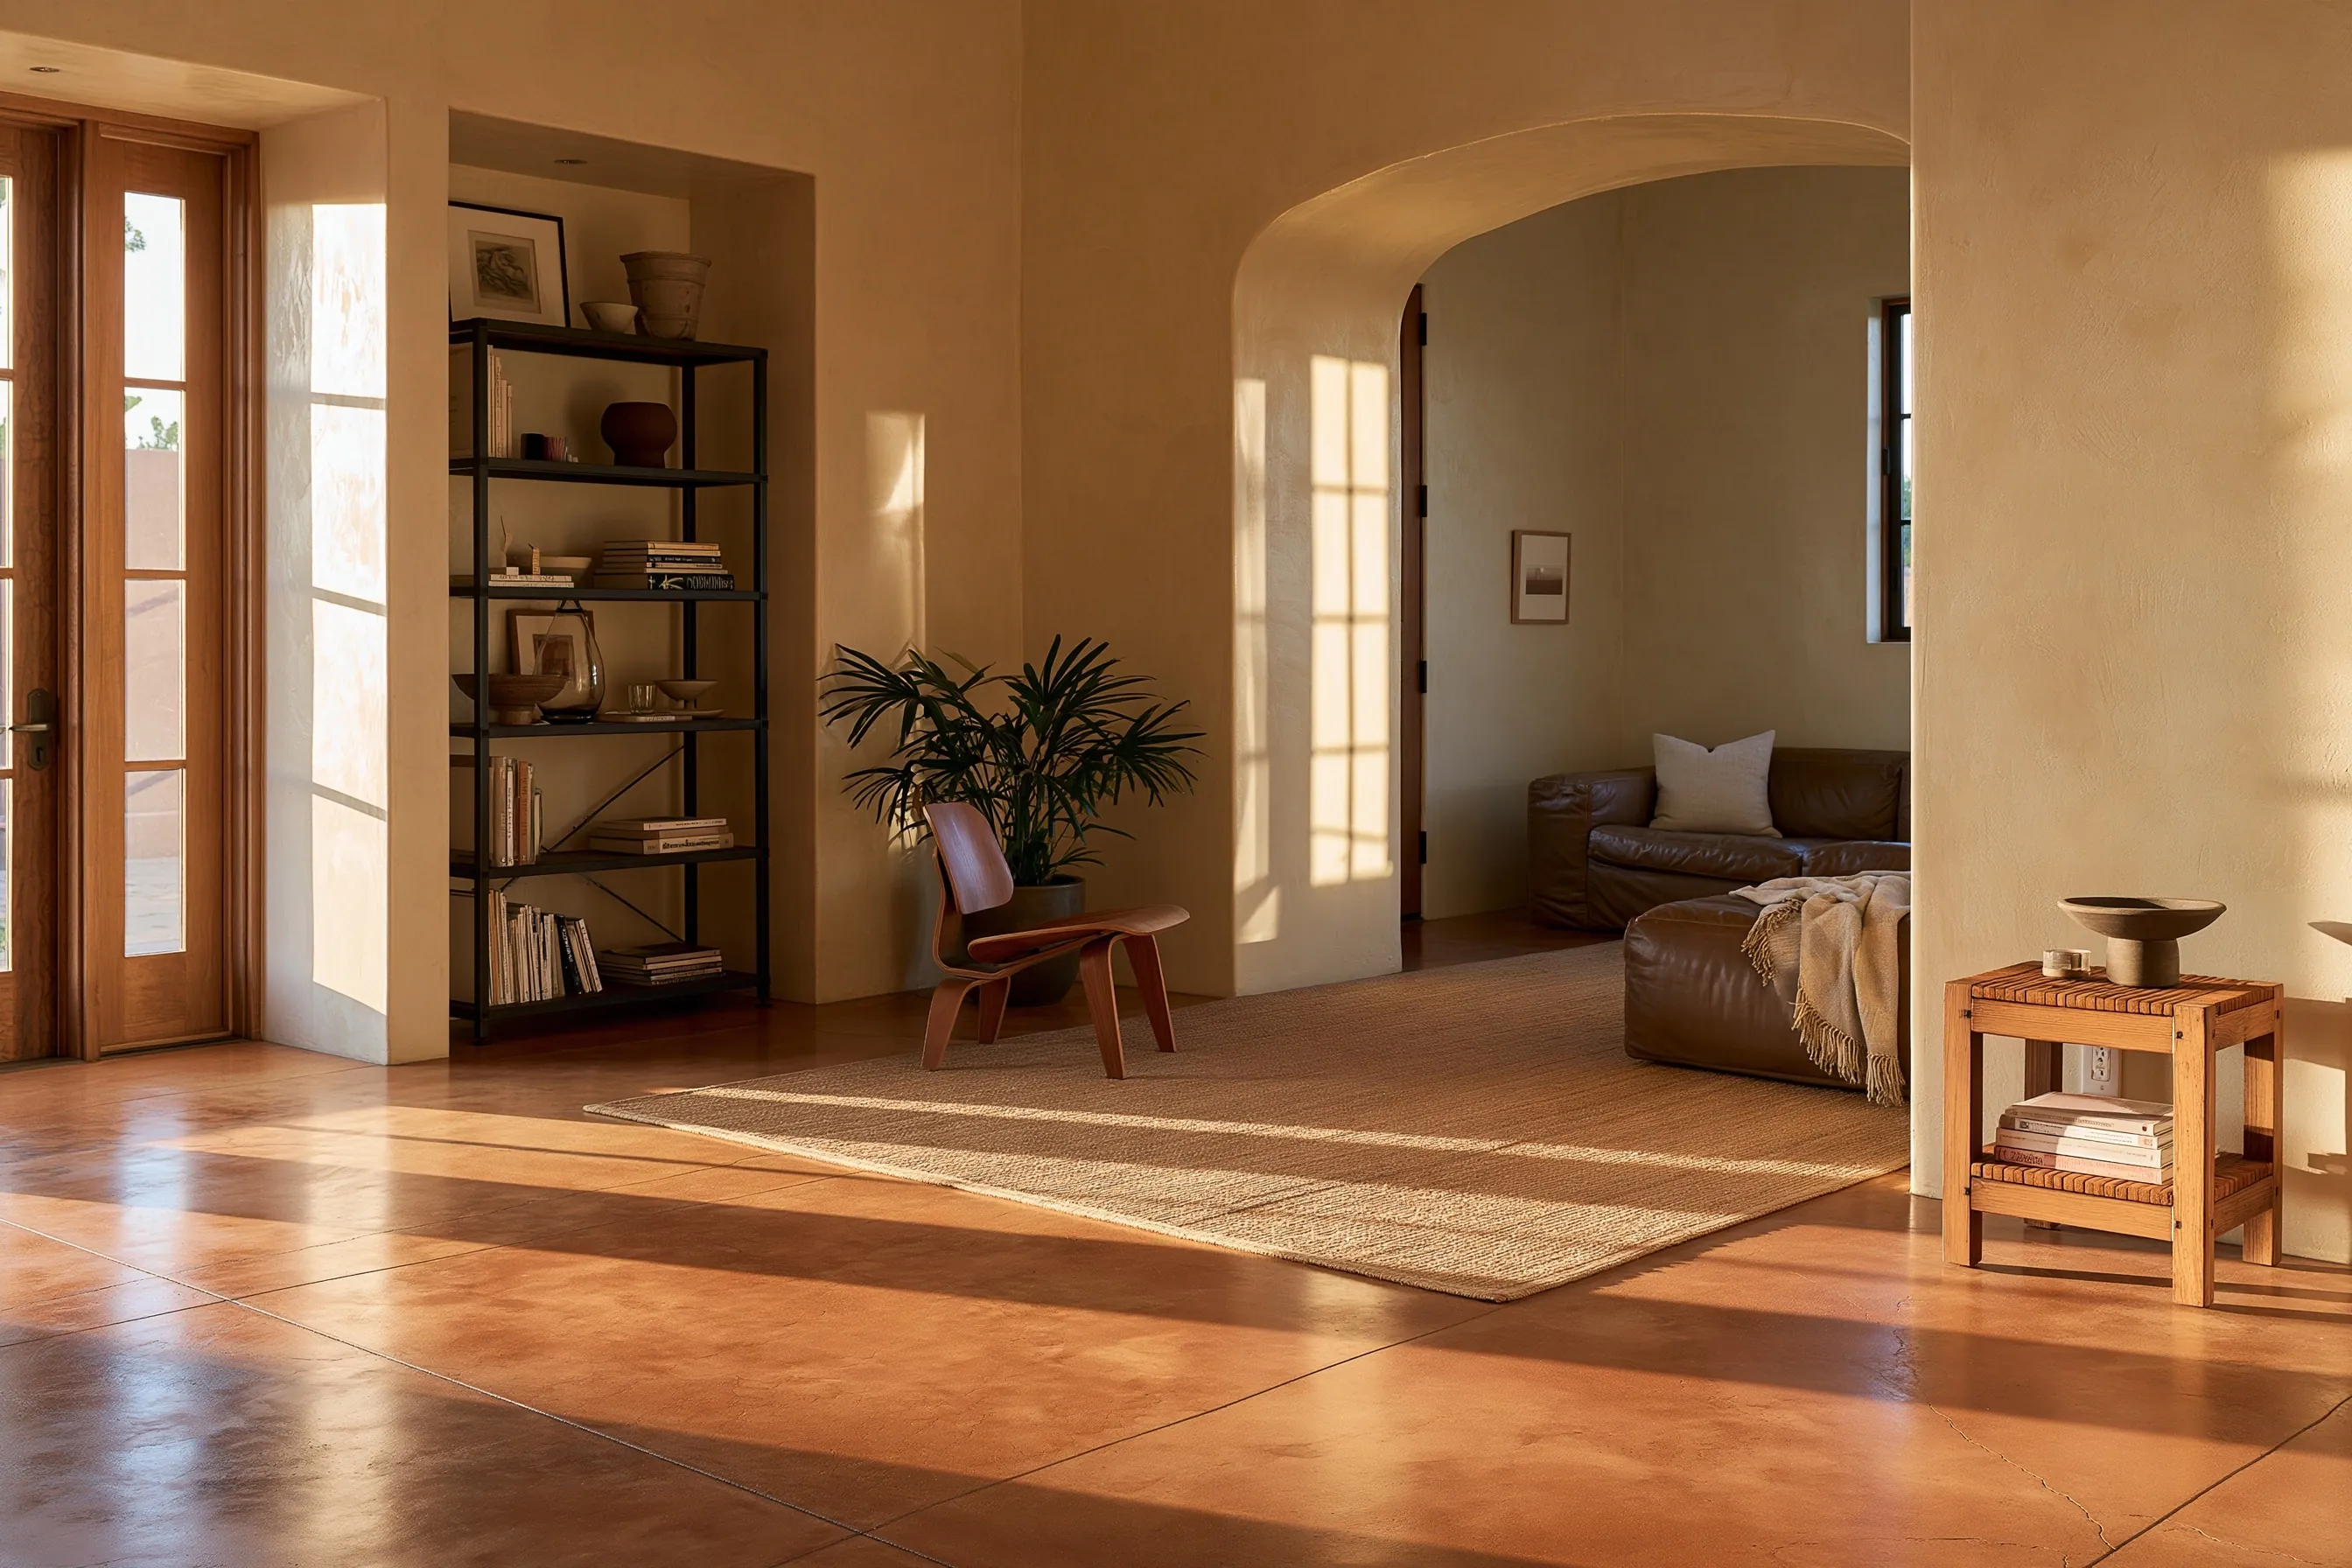
Living room with a warm terracotta dyed concrete floor, warm tan plaster walls, an arched passage and a bookshelf in evening light
Home
1990s stucco house in Gilbert with plaster arches
Original request
Warm color in the living room that matches the plaster walls
Floor
About 700 sq ft of living room and hall, one pour
Color
One terracotta dye, left a little mottled
Finish
Polished to a satin sheen
Estimated cost
$4,900

Scope of work

Furniture moved out, the slab ground, cracks filled, one terracotta dye color worked in, a densifier, polishing to a satin sheen and a stain guard. Baseboards and the rug are put back by the owners.

Project overview

In this example, the owners of a 1990s stucco house in Gilbert have a living room and hall on a plain gray slab under old carpet. They want a warm color that suits the plaster walls and the arched openings.

A terracotta dye is worked into the slab and left a little uneven, the way plaster looks. The floor is then polished to a satin sheen, so the color glows in low light without showing every footprint.

The goal

The goal is a warm floor that suits the arched plaster rooms and stays easy to clean.

Process

  1. Planning Slab checked, a terracotta sample made on a spare corner.
  2. Grinding Carpet glue and rough spots ground off, cracks filled.
  3. Dye Dye worked in and left to show some variation.
  4. Polish and guard Densifier, polish to satin and a stain guard.

Planning right

  • Color varies across a slab, so some mottling is normal with dye.
  • Patches show through dye, so cracks and old glue marks matter.
  • Pick the wall color after the floor is dyed.
  • Say so if you want an even color; it is a different look from a mottled one.

Get a free quoteMore about stained and dyed floors

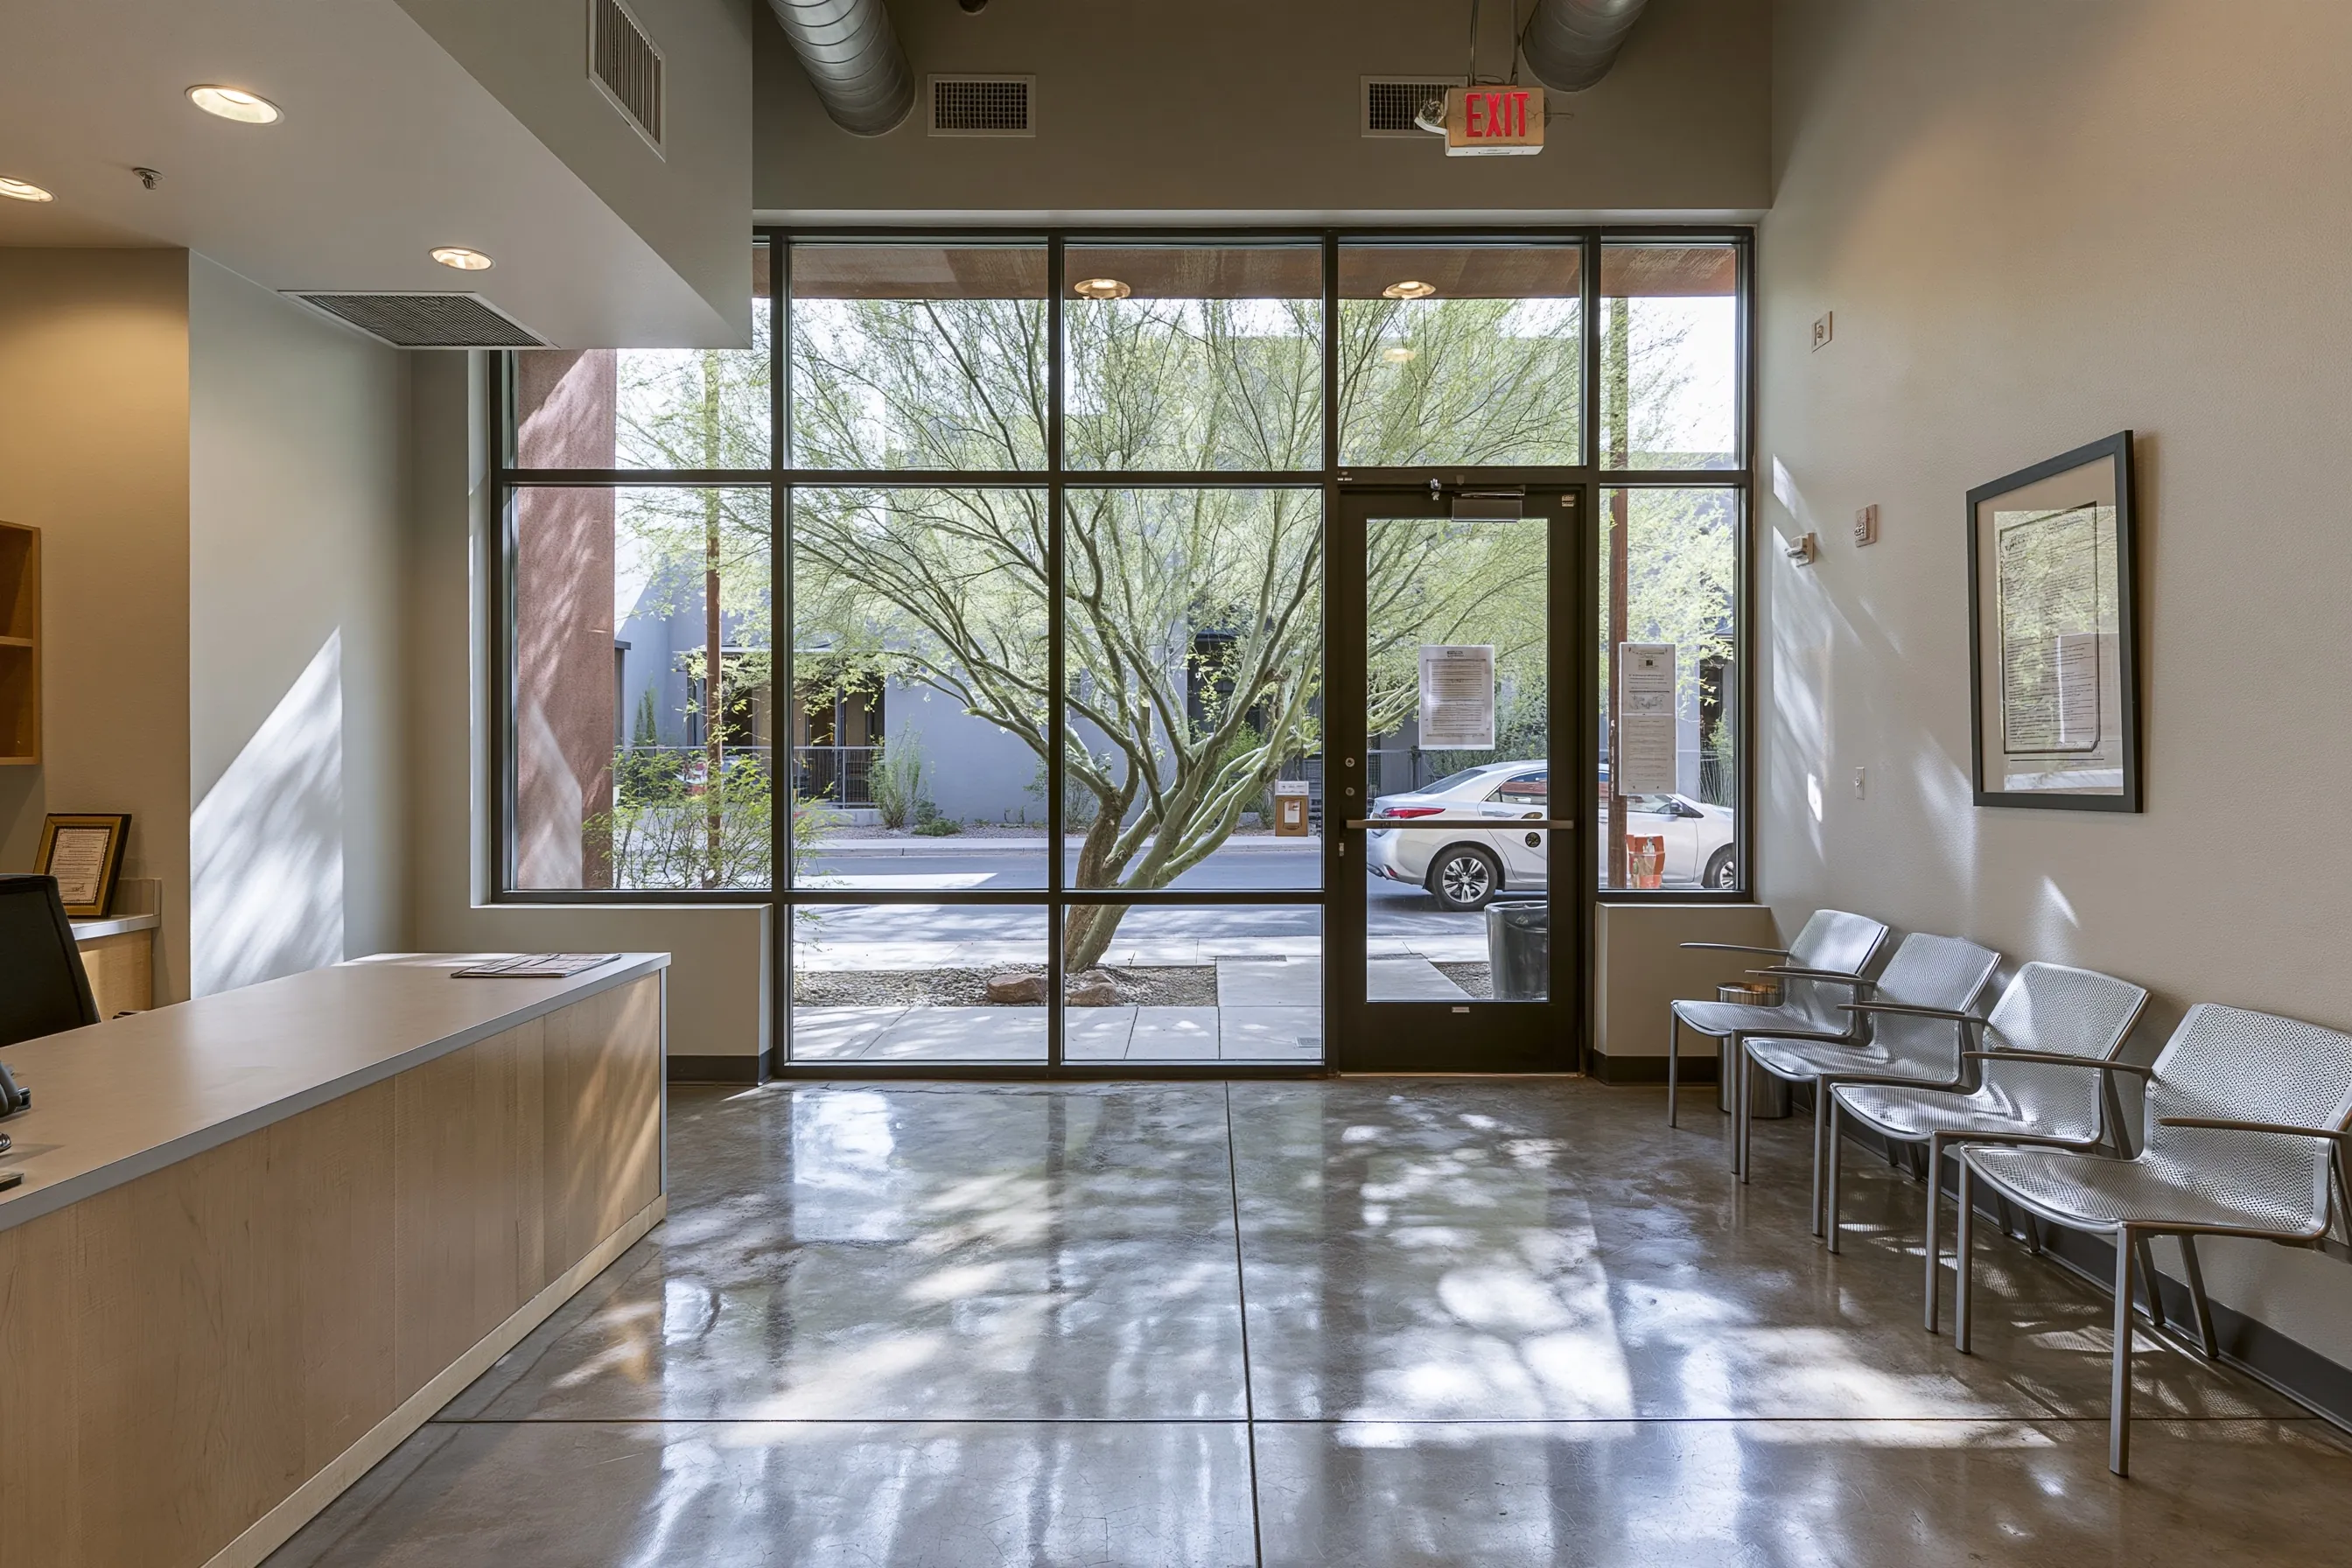
Satin polished reception floor for a small office suite

Example project

Small office reception with a polished concrete floor, a front desk, metal waiting chairs and a glass entrance with a tree outside
Space
Small office suite in Gilbert with a glass entrance onto the street
Original request
A reception floor that looks finished and stands up to foot traffic
Floor
About 800 sq ft of reception, waiting area and hall
Finish
Satin polish with a stain guard
Fixtures
Front desk and waiting chairs stay in place
Estimated cost
$4,000

Scope of work

Chairs and small furniture moved aside, the front desk protected, joints and cracks filled, the slab ground through the diamond steps, a densifier, polishing to a satin finish and a guard. The work is planned around the days the office is closed.

Project overview

In this example, a small business is moving into an office suite in Gilbert. The reception, waiting area and hall are plain slab, and the owners want a floor that looks finished and holds up to foot traffic.

A satin polish suits a room with a glass entrance, because daylight and scuffs show less than they would on a gloss. The front desk stays where it is, so the work is done in sections around it.

The goal

The goal is a clean, even reception floor that is ready for the desk and chairs.

Process

  1. Planning Slab, joints and the opening hours checked on site.
  2. Grinding Slab ground and joints filled, with dust kept out of the rest of the office.
  3. Polish Densifier added and the floor polished to satin.
  4. Guard Guard applied and the suite handed back clean.

Planning right

  • Joints are cut to control cracking, so they stay visible in the finished floor.
  • A satin finish hides scuffs better than a high gloss.
  • Tell us where the desk, door mats and waiting chairs go.
  • Check the lease before work starts on a suite you rent.

Get a free quoteMore about commercial polished concrete

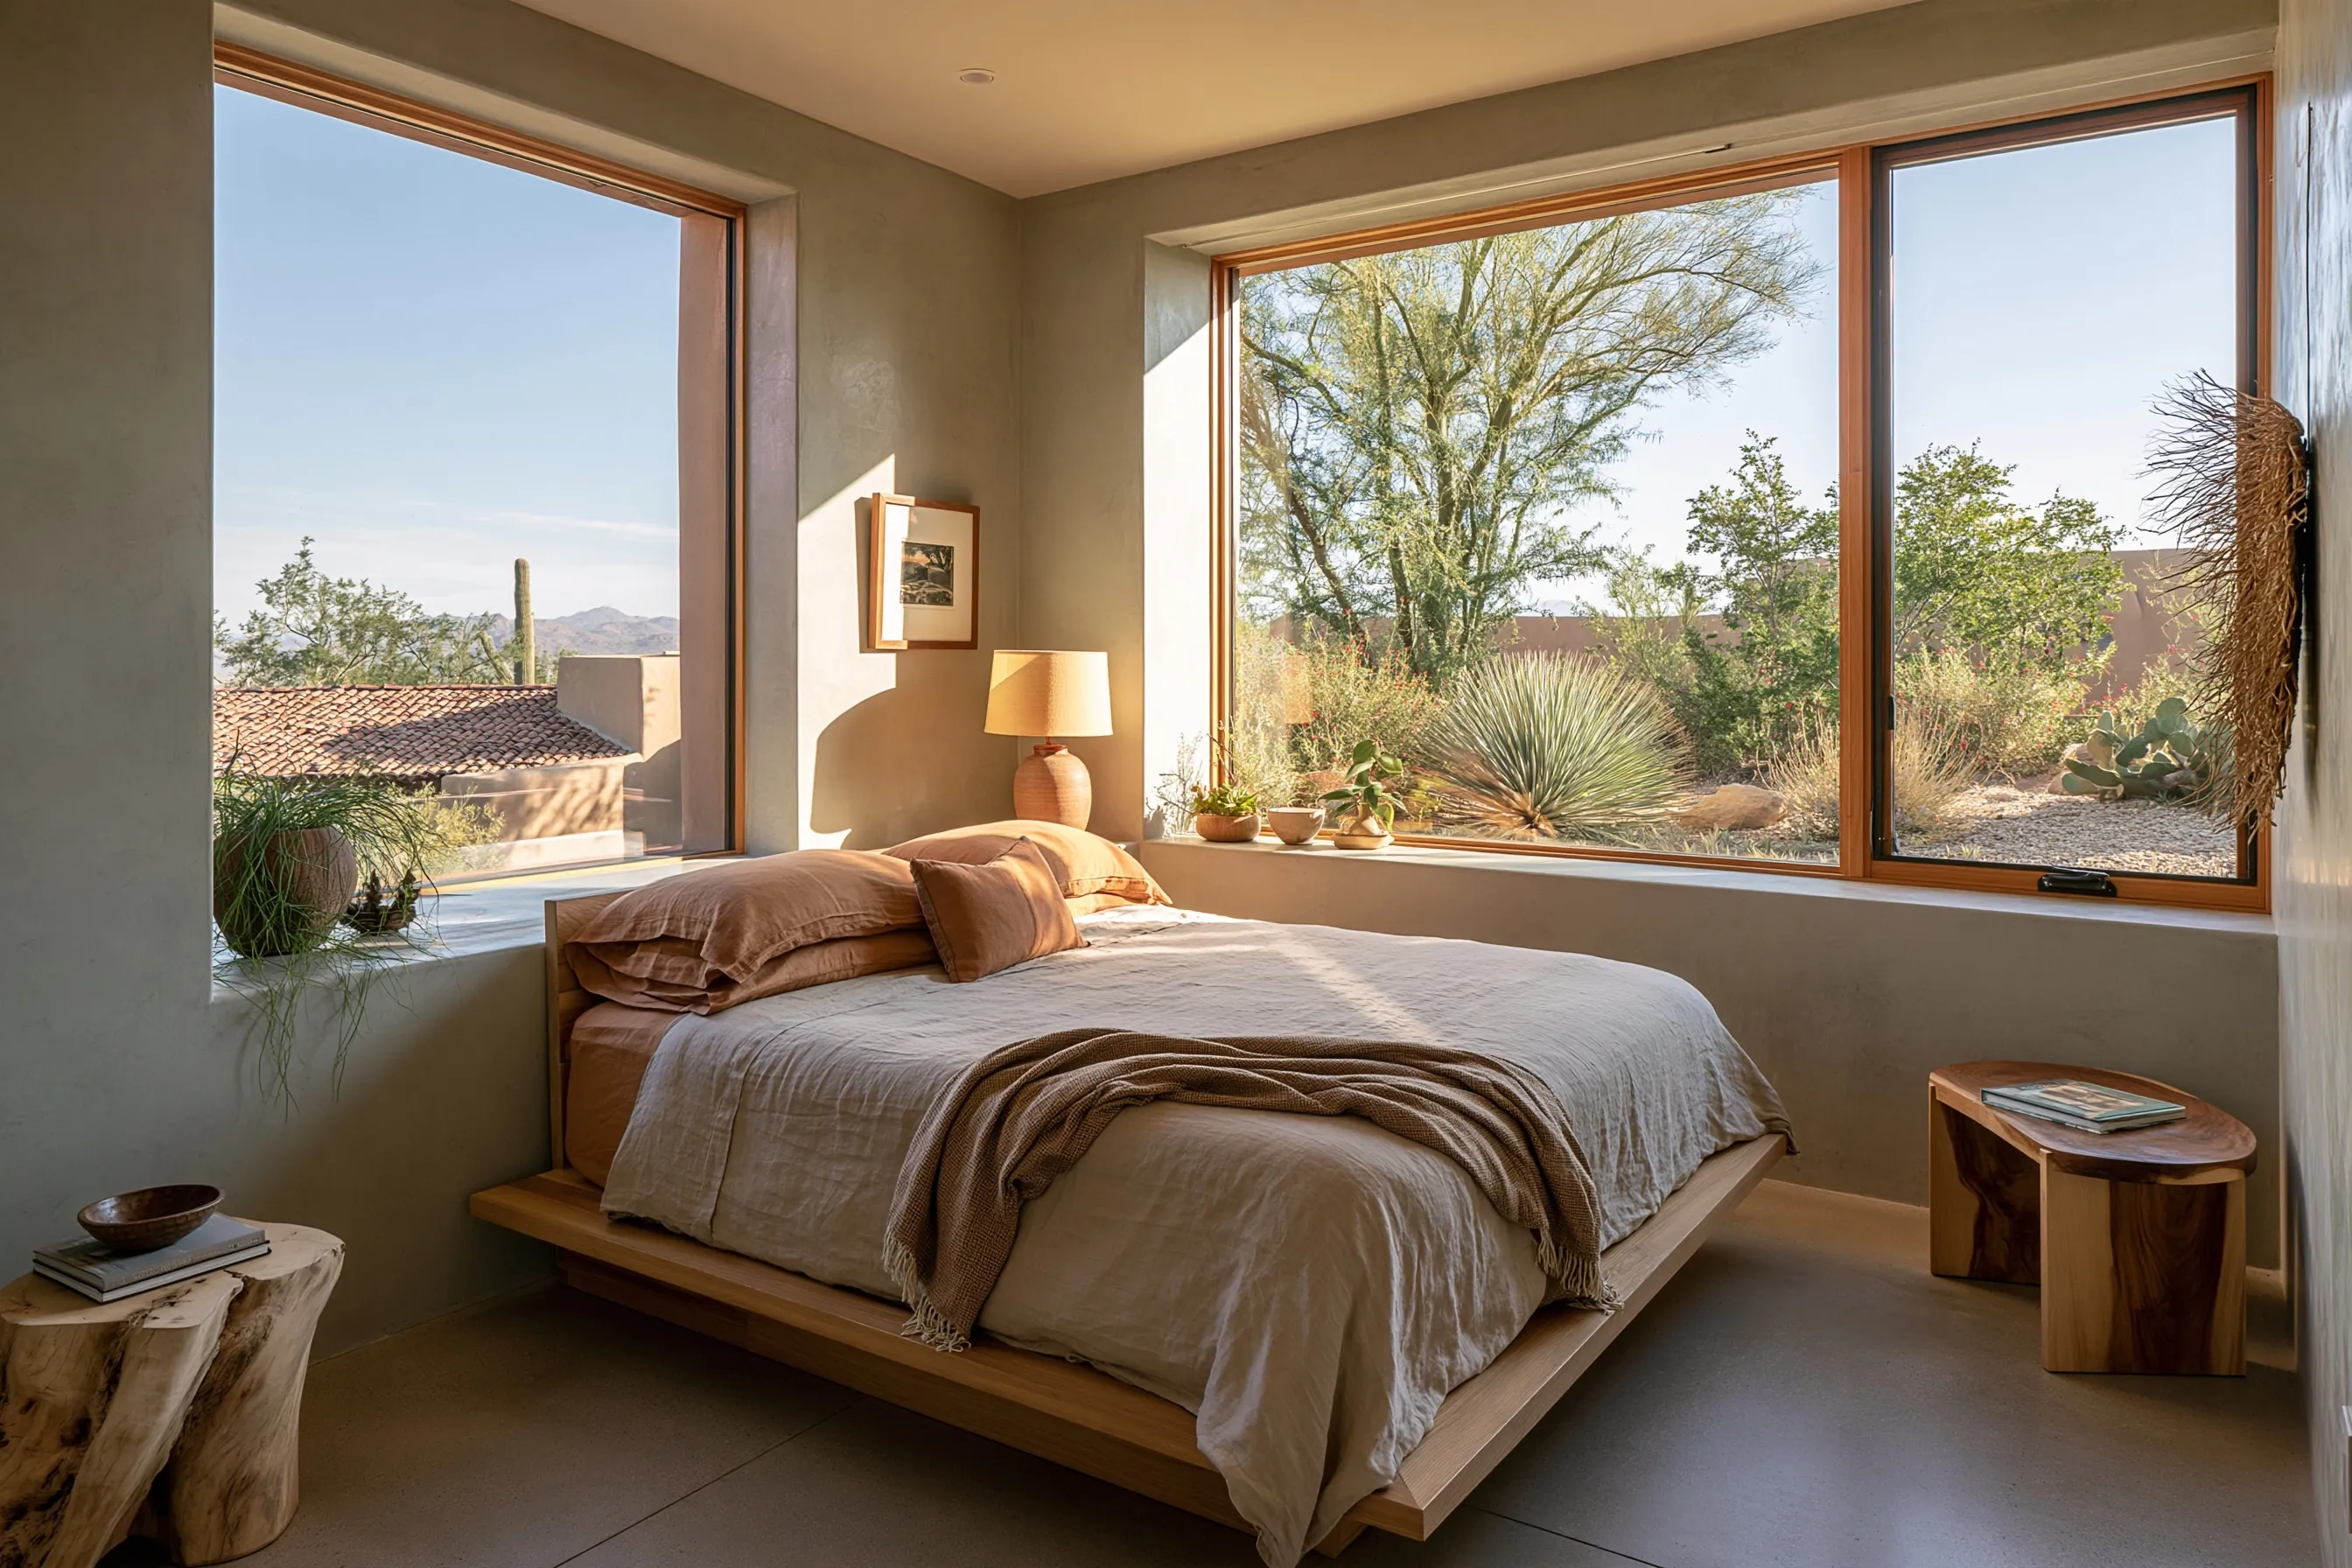
Bedroom floor ground to a matte finish and sealed

Example project

Bedroom with a matte gray concrete floor, a low bed, corner windows onto saguaros and a clay tile roof
Home
2010s house in Queen Creek with corner windows
Original request
A quiet matte floor in the main bedroom, nothing shiny
Floor
About 240 sq ft of slab, light gray
Finish
Ground smooth and sealed to a matte finish
Furniture
A low platform bed and two side tables
Estimated cost
$1,400

Scope of work

Room cleared, the slab ground smooth, hairline cracks filled, a sealer rolled on and the finish left matte. Baseboards and the bed frame are taped and protected, not removed.

Project overview

In this example, the owners of a 2010s house in Queen Creek are taking up the bedroom carpet. Underneath is a plain gray slab, and they want it matte and soft-looking rather than glossy.

Grinding stops short of a full polish. The slab is ground smooth and sealed, so the room keeps a quiet matte look that suits the corner windows and the low bed.

The goal

The goal is a calm matte floor that looks like part of the room, not a feature.

Process

  1. Planning Room measured, the matte look agreed from a small test.
  2. Grinding Slab ground smooth and cracks filled.
  3. Sealing Sealer applied in thin coats and left matte.
  4. Handover Walls checked and the room handed back.

Planning right

  • A sealed floor is recoated rather than polished back.
  • Matte hides footprints better than a shine.
  • Rugs and felt pads keep furniture from scratching the sealer.
  • Ask whether you want a warmer color; dye is a separate line.

Get a free quoteMore about grind and seal floors

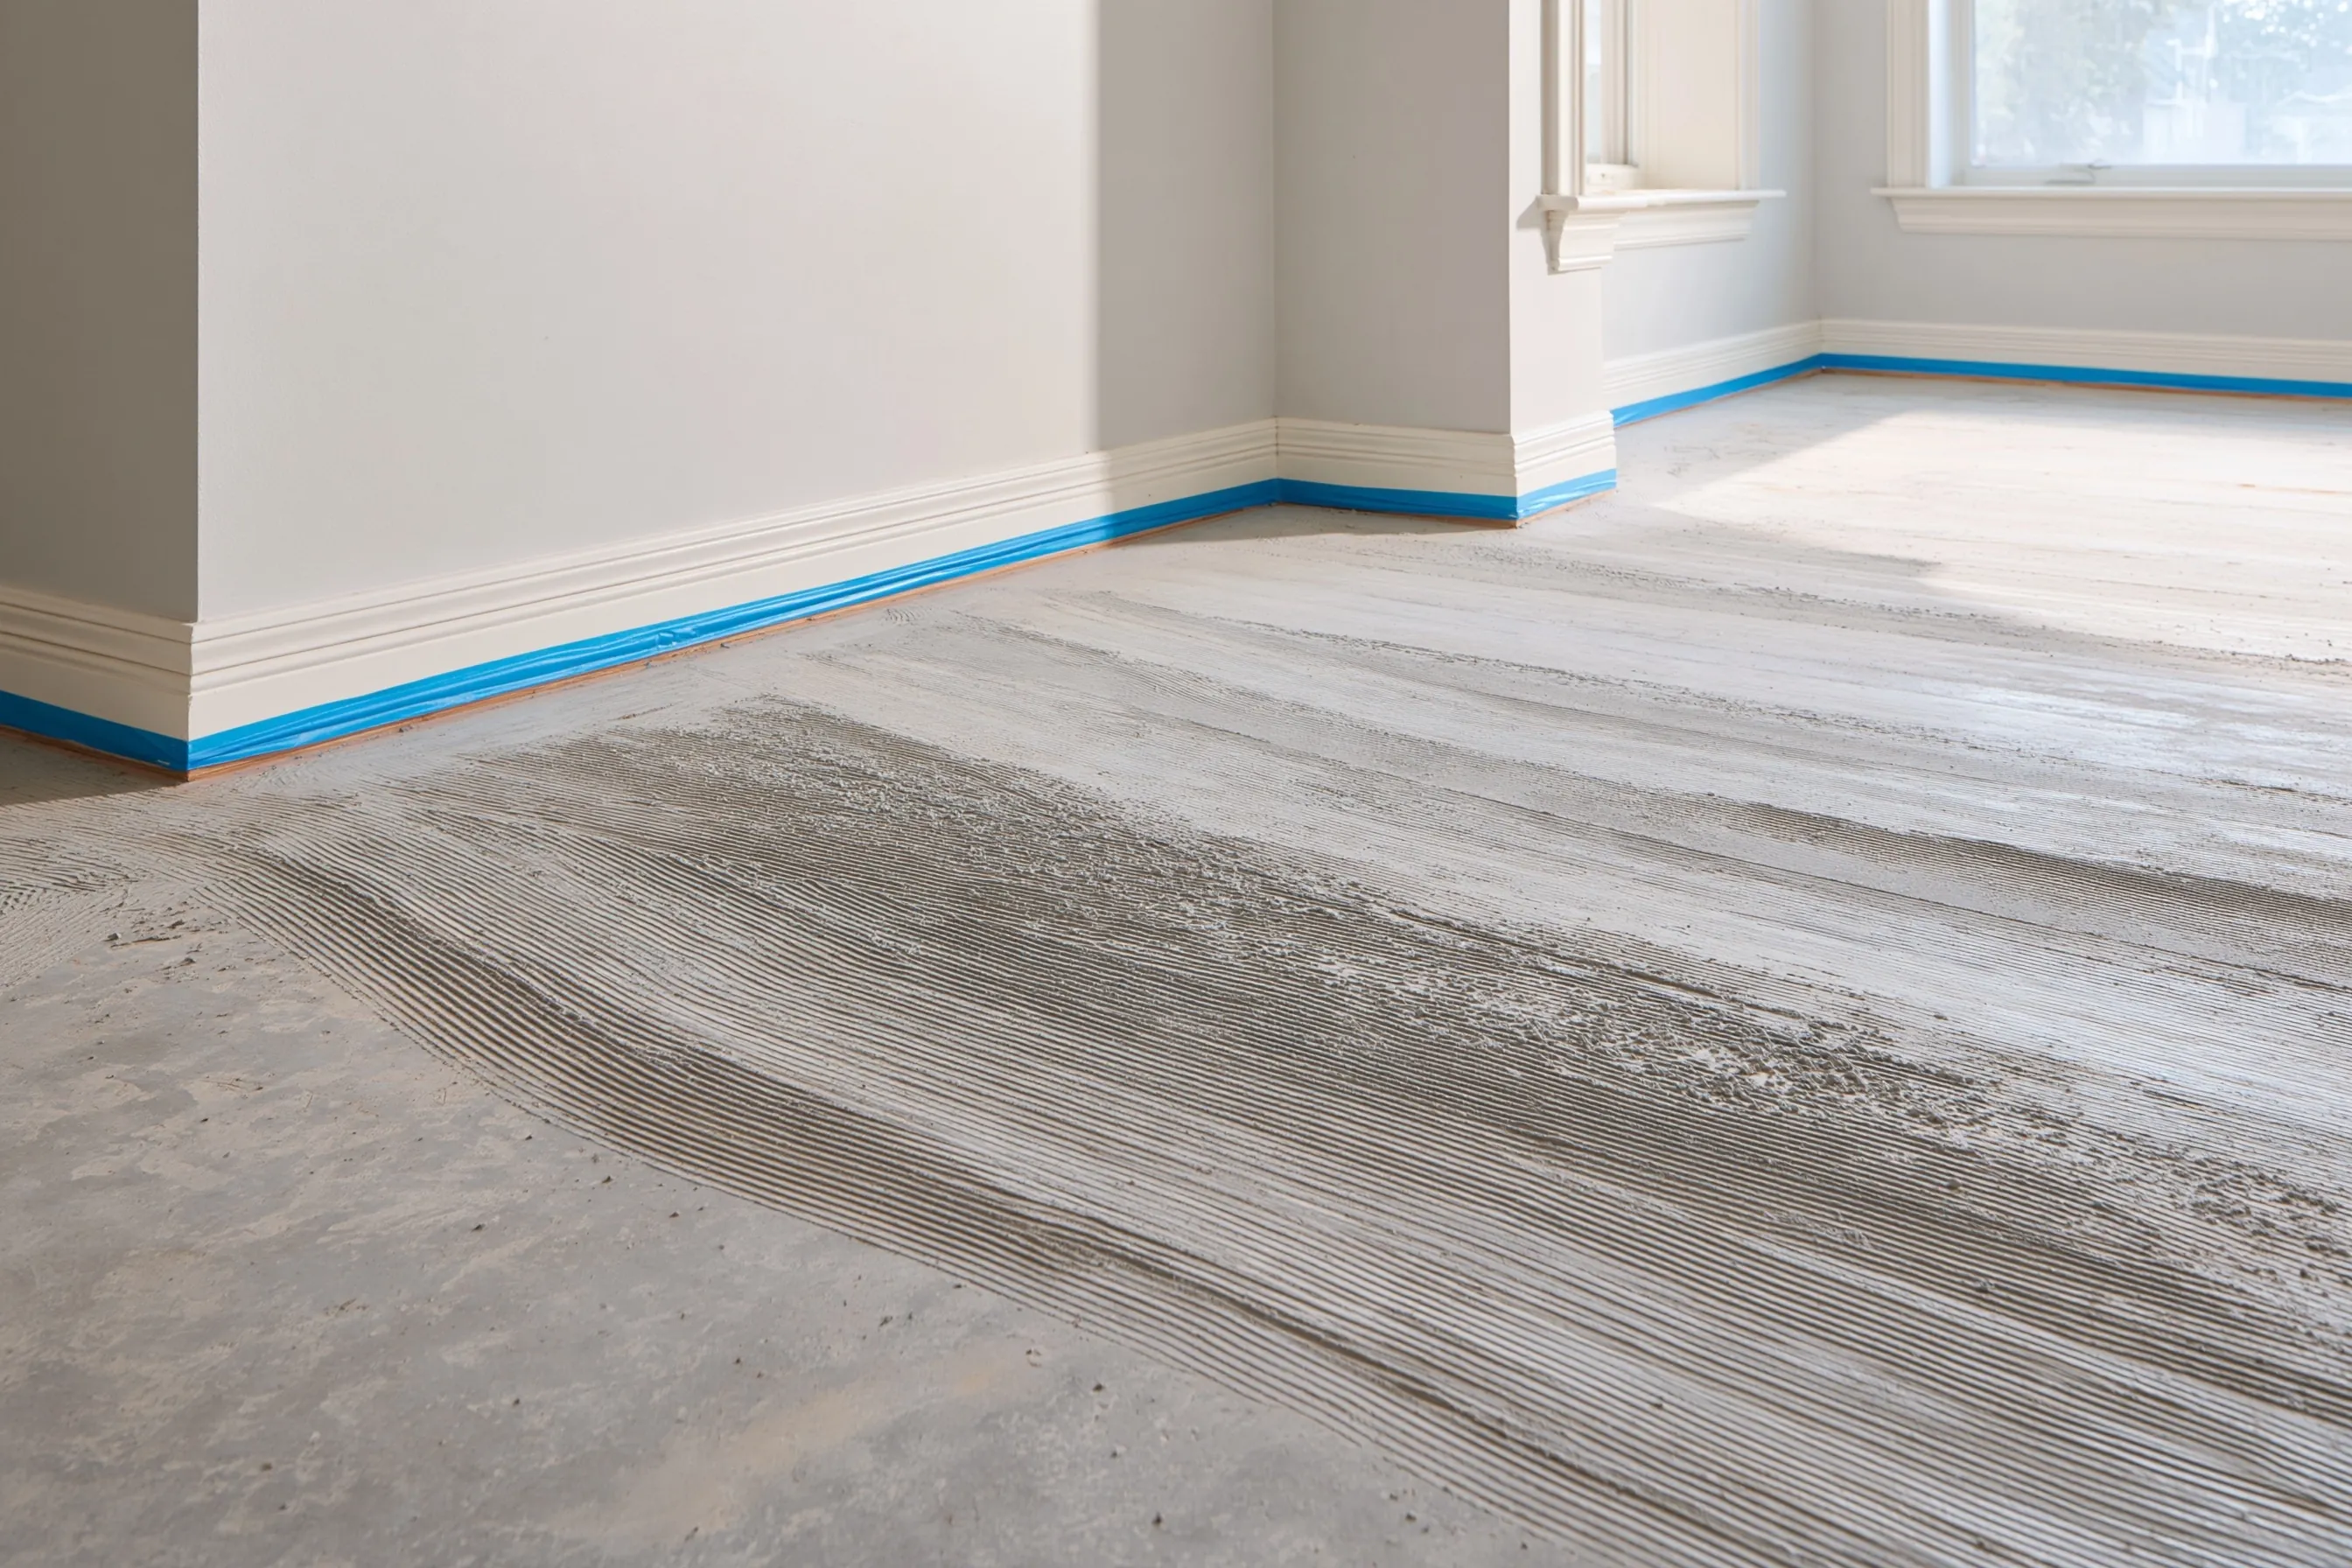
Old tile and thinset removed from a living room slab

Example project

Room with the tile removed, a bare concrete slab with ridges of leftover thinset and blue tape on the baseboards
Home
1990s house in Chandler with light gray walls
Original request
The tile is gone; get the slab ready to polish
Floor
About 420 sq ft of slab with ridges of old thinset
Prep
Thinset ground flat, cracks filled
Next step
Polish quoted on the interior lines
Estimated cost
$1,300

Scope of work

Baseboards taped, the leftover thinset ground off, hairline cracks and chipped spots filled and the slab left bare and flat for polishing or sealing. The polish itself is quoted on the interior lines.

Project overview

In this example, the owners of a 1990s house in Chandler have pulled up the living room tile and are left with ridges of old thinset across the slab. They want the concrete underneath polished.

The baseboards are taped and the thinset is ground off until the slab is flat. Chips and cracks are filled, and then it is ready for a polish or a sealer.

The goal

The goal is a flat, clean slab ready to polish, with no thinset left to show through.

Process

  1. Planning Slab checked for thinset depth, cracks and chips.
  2. Grinding Thinset ground off to a flat slab.
  3. Repairs Cracks and chipped spots filled.
  4. Ready Slab cleaned and left ready for polish or sealer.

Planning right

  • Thinset ridges show through any finish, so they have to come off first.
  • Old tile can hide cracks, so repairs are a line item.
  • Keep the baseboards on and tape them, or plan to replace them.
  • If you want dye, say so before the slab is ground.

Get a free quoteMore about concrete floor restoration

Request a free polished concrete quote

Tell us what kind of floor you have in mind, the rough size of the room and what is on the slab now. Photos help. We'll get back to you soon with an estimate or any questions we have. Estimates are free and there's no obligation.

Call (888) 835-6411

Call (888) 835-6411